Friday, November 9, 2012

Fried Cheese Curds, and other various batter fried goodies

The closing date for our new home is rapidly approaching (less than 7 days away, and still no word from the VA!), and I was recently up in Wisconsin for a doctor's appointment so I brought back some loot from up North. 
I figured I would get in the Wisconsin spirit and try fried cheese curds for my next recipe. These cheesy bits of fried goodness are very popular up there from what I've seen. We even found a frozen custard place that serves them on the side of burgers like you would with french fries. This was actually the first place our WI realtor suggested we meet before looking at houses, which is why I knew we would get along perfectly. 
Cheese is the fifth food group to me, and I worked at a frozen custard place as my first job in high school, so anywhere that can combine the two is alright in my book. 
(On a side note: the chocolate cheese picture below is the most awesome invention in the world. It combines my two loves, chocolate and cheese. Only it does not taste like cheese at all, it tastes like creamy fudge!)

Some of my WI loot

Batter ingredients:
1/2 cup flour
1/2 teaspoon of salt
1 tablespoon oil
2/3 cup warm water
1 egg white, beaten
very generous sprinkle of each: pepper, garlic powder, onion powder
regular sprinkle of each: cayenne pepper, curry powder

Mix up the batter


Freeze the cheese curds for at least 1/2 hour before frying. VERY IMPORTANT! 
(Tim has experimented a couple of times with homemade mozzarella sticks, and apparently nothing is worse to clean out of a fryer than melted, fried cheese.)


Dip in the batter then drop in the hot oil and fry til nicely browned
(the trick is to cook the batter, but not melt the cheese enough that it escapes!)


Set aside on a paper towel to cool 
(and try not to eat all of them while you cook)


This batter works really well for all kinds of things like chicken, onion rings, 
and various vegetables. 
This time we did fried mushrooms, red pepper, and broccoli 


Mmm. Fried cheese... 


Bubba who is usually not a fan of cheese loves his fried cheese curds.  We have been joking that he would get us kicked out of play groups for not wanting cheese and crackers at snack, but it seems he may fit in in Wisconsin yet! 


Wednesday, November 7, 2012

Grandma's Pumpkin Bread

Just before Halloween we went pumpkin picking at a farm stand near the house. We let Bubba pick out a dessert (or pie) pumpkin, and a regular pumpkin that we carved for the porch. 


Now most people like to make pumpkin pie with these dessert pumpkins and I do like pumpkin pie, but my favorite is pumpkin bread, and it turns out it is Bubba's favorite too. With this one baking pumpkin we have made three loaves already and this fourth loaf will almost finish up the last of the pumpkin. 
(Oh no! We'll have to get another!)

First you want to cut open the pumpkin, take out the seeds and guts, split it in half, grease it with olive oil and bake it face down on a cookie sheet (also greased with olive oil, and a little water (1/2 cup) on it) for about 45 minutes at 350 or until you can stab a knife through the pumpkin shell easily.
Once it is cool, scrape the flesh out and mash it up, with a fork.
Now you are ready to make the pumpkin bread! 
So I will turn it over to my mom to describe her recipe.

Ingredients:
1 cup pumpkin puree (either from a fresh, roasted pumpkin, or canned 100% pumpkin)
1/4 cup oil (I used canola oil)
1 egg
about  1/2 cup water
1 & 1/2 cups flour
1/2 teaspoon of salt
1 teaspoon baking soda
1/3 cup brown sugar
1/3 cup white sugar
1 teaspoon cinnamon
1/2 teaspoon ground ginger
1/4 teaspoon each of nutmeg and ground cloves
optional: 1/2 cup chopped walnuts-(I love them, but no one else in the family does)

In a medium bowl measure out all the dry ingredients (flour, salt, baking soda, spices, sugars) and stir with a whisk to get out any lumps, especially the brown sugar.


In another medium bowl mix together all the wet ingredients: pumpkin puree (if the pumpkin puree is from a fresh roasted pumpkin, you might need to mash it with a potato masher first to make it smooth), egg, oil, water. 


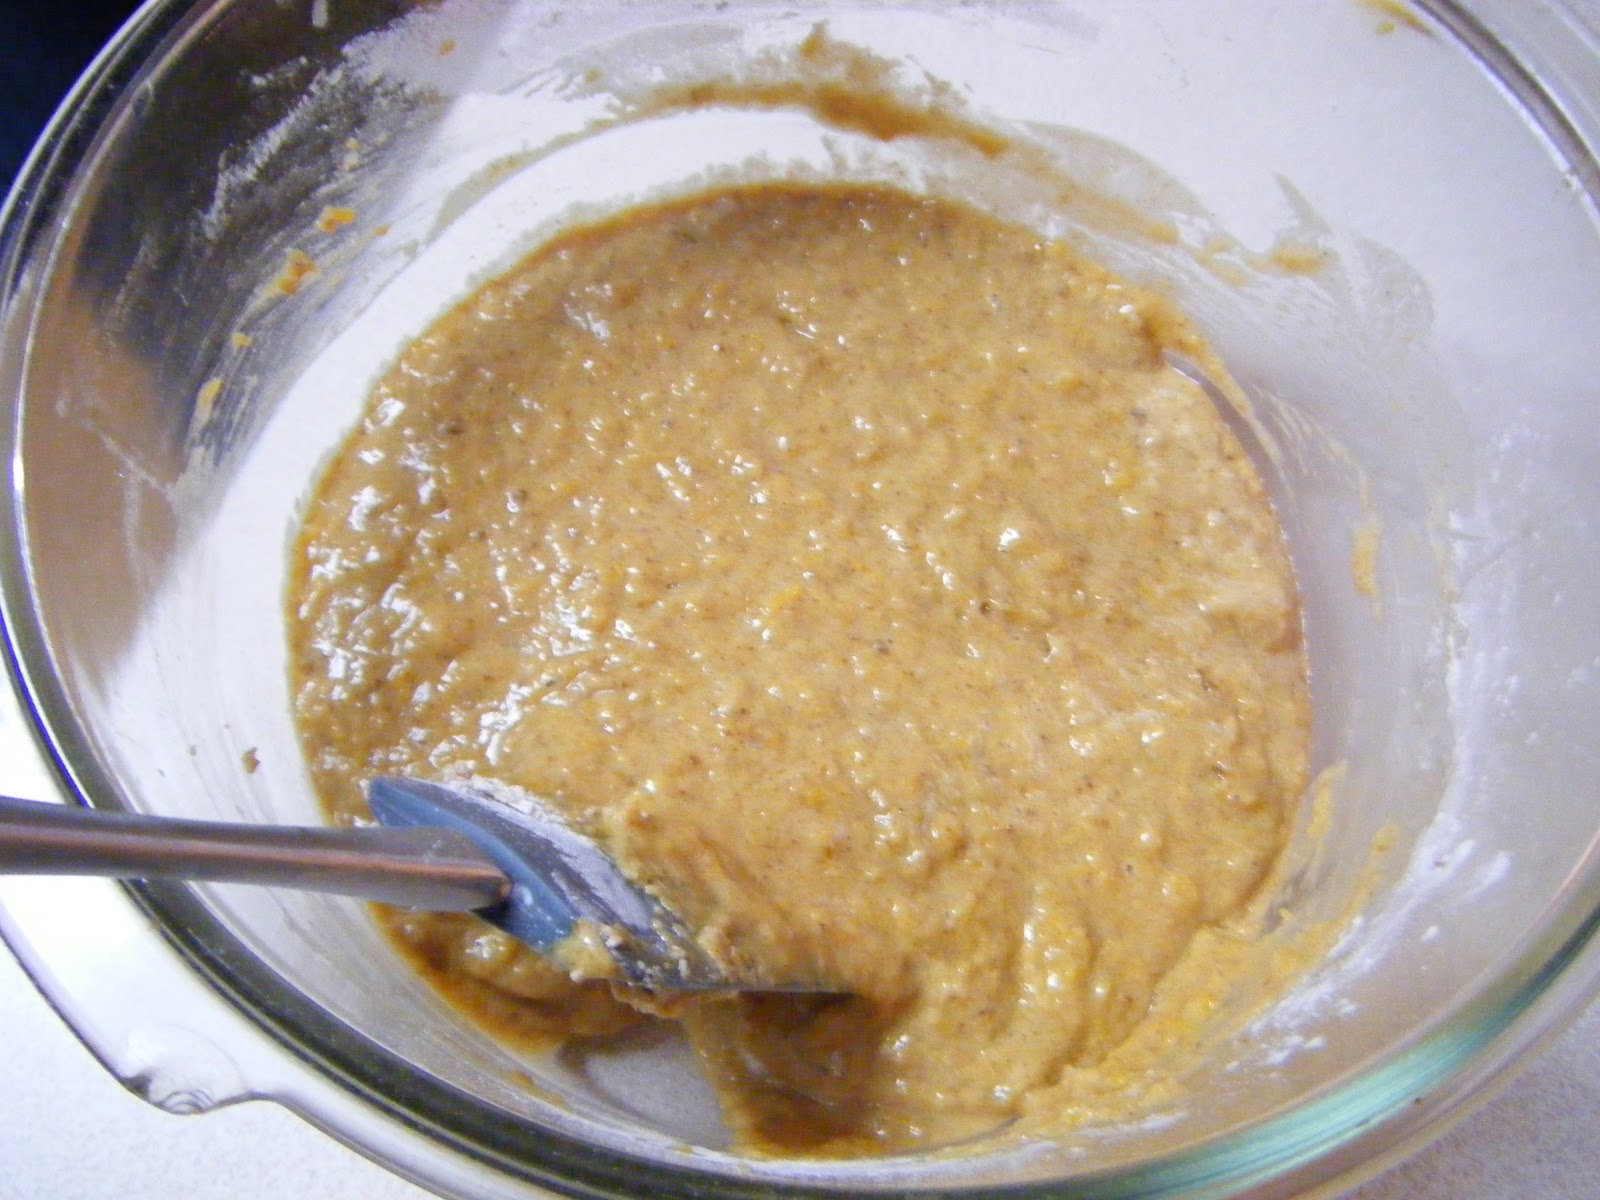
Gradually stir in the dry ingredients and mix just enough so the batter holds together. 
May have to add a little more water, or not, depending on the consistency. 


Pour batter into a lightly oiled loaf or square 8x8" pan. 


Sprinkle top with a mixture of white sugar and cinnamon   


(I am pretty generous)


Here is a Cinnamon Sugar recipe (cause some people don't know):

Fill a jar 3/4 of the way with sugar, and the rest with cinnamon (I like it really cinnamony)


Then shake it up til mixed thoroughly. 
Done. 
Now you can make lots of yummy things.


Bake the bread at 350 for 45 minutes to an hour. Test with a toothpick before removing from oven to be sure it is bread all the way through and not bread and goo.


Bubba says, "Ah. Pumpkin Bread. The perfect post nap snack."

(Notice the crazy "bed-head"?)

Sunday, November 4, 2012

Uncle Tim's Samosas

Our closing date on the new house is 11 days away and we still haven't heard from the VA if they accepted the appraisal and will let us buy a foreclosure, but they haven't said "No", so maybe we will escape home buying purgatory yet.  Stay tuned to find out!

For now there is nothing to do but wait, and continue to convince my brother Tim to cook  his famous recipes and blog them.  My goal before we move to our new house is to get him to make all of his specialty dishes for the blog so that when I want to make them all I have to do is go to the blog for instructions with pictures. 
This vacation from cooking has been sort of nice, but I do miss it. And now  that Bubba has become accustomed to much fancier cuisine, I guess I will have to up my game and add in some new and interesting dishes.

I love dumplings, pot stickers, empanadas, hot pockets, ect. Any type of doughy bread or noodle stuffed with something. Samosas are an Indian style stuffed appetizer that just happen to be another of  Tim's specialties.

Ingredients:
Dough:
2 cup flour
1 teaspoon salt
1/2 cup unsalted butter
Filler:
 2 (or more) potatoes
2 tablespoon yogurt/sour cream
1/4 cup ice water
diced onion
pinch of red pepper flakes
2 cloves of garlic
2 teaspoon of minced ginger
salt & pepper to taste
1-3 tablespoon curry powder
1/2 cup peas (we also used carrots)
frying oil (peanut)

Like most of my Eastern recipes, I'm not sure where this one originally comes from or how truly authentic it is. It certainly isn't like what we get at Indian restaurants. But it passes the truest measure of success:  It tastes good. 
And if someone helps me in the folding process, it also looks good. 
(you'll see; think dog biscuit)

Like pot-stickers, there's a dual process, making the filler and making the dough.

For the filler:
Dice the potatoes and boil them to soft, as if you were making mashed potatoes.


Now, while that's stewing, the dough:
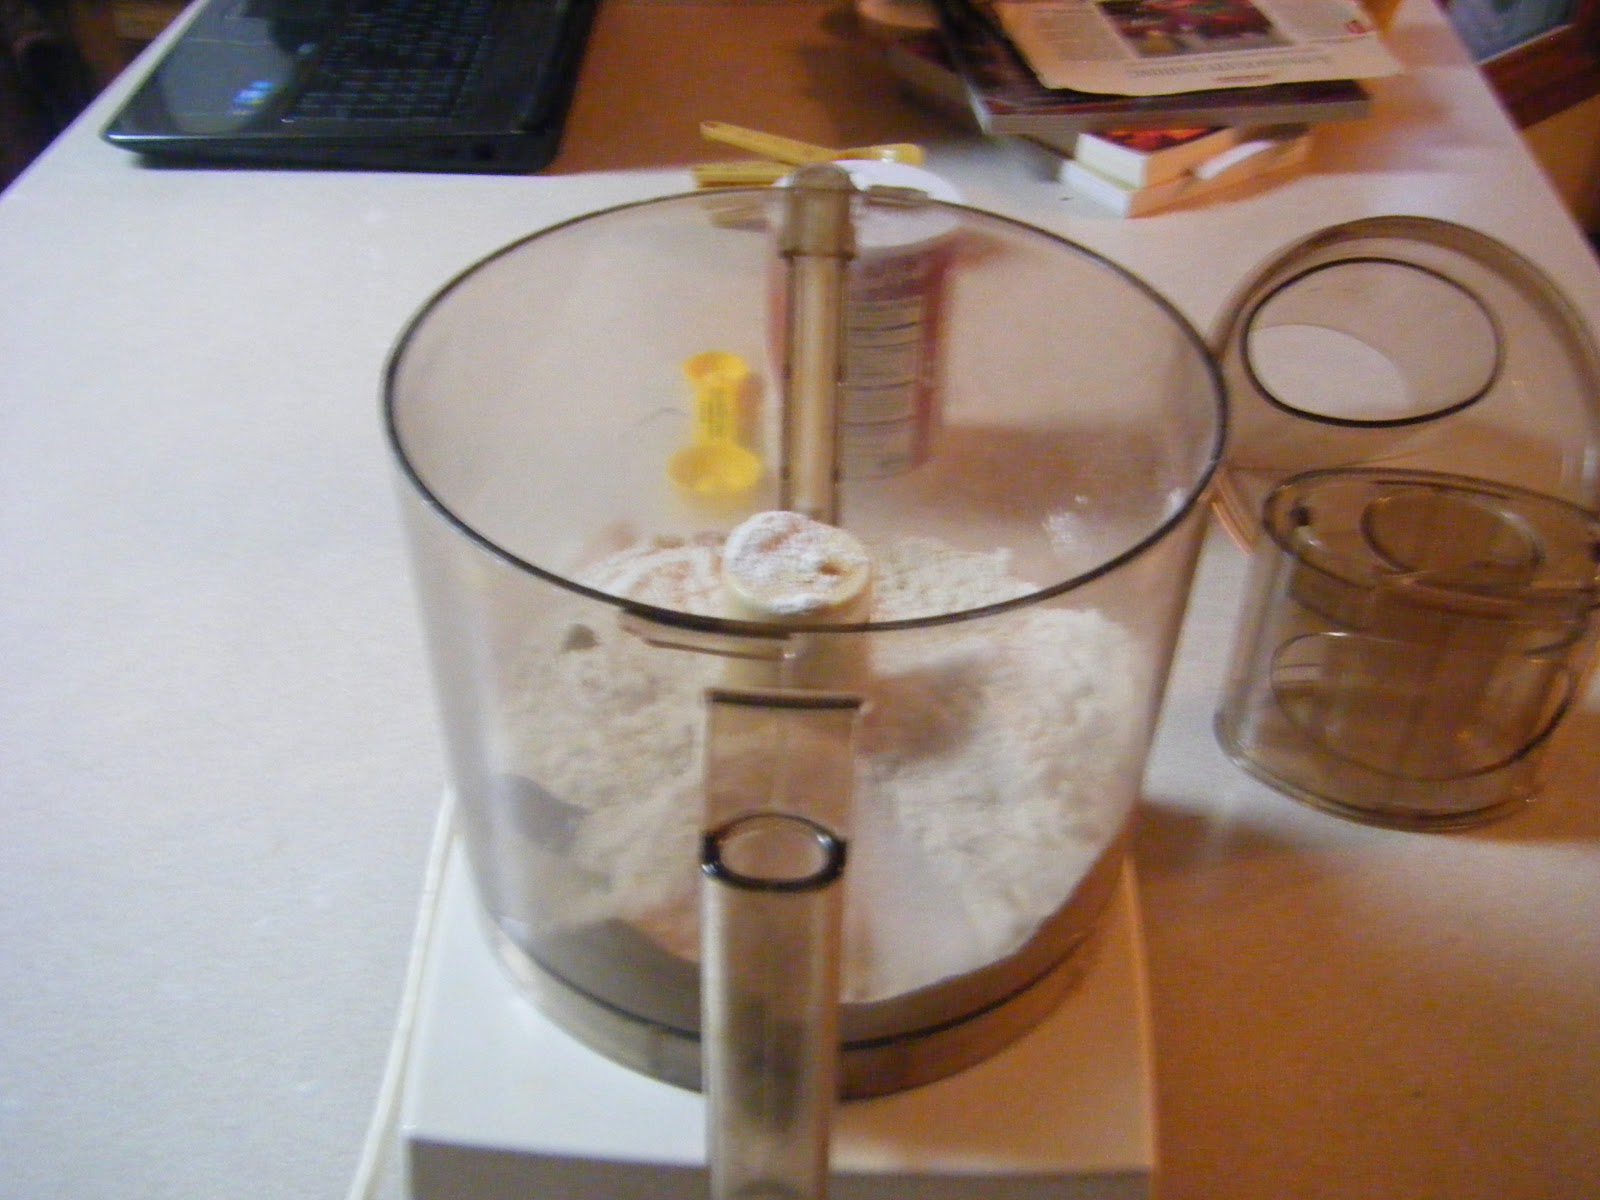
In a mixer/Cuisinart, sift the flour and teaspoon of salt, and blend in the butter until it's a relatively uniform mixture.

We have a lovely ancient broken Cuisinart that takes half an hour for any of us to
remember how to assemble.


Prepare ice water: ice + water


Now the fun bit:


Pour, -SLOWLY- the ice water into the Cuisinart while blending (best done w/ two people). Don't over water, but sometimes you can't help it, just add more flour in the kneading process if it gets too goopy.


Knead the dough, gradually adding flour until it forms a nice ball of a similar consistency to bread dough (maybe a little heavier, but basically make sure it holds together and there's no butter lumps).


Now the filler: When the potatoes are fully cooked, drain the water and cook over low-medium heat. Add the diced onion, the garlic, the ginger and the peas. Cook for about five to ten minutes while stirring, then add the yogurt/sour cream. Mix it together and then season with the red pepper flakes, the salt & pepper, and the curry. How many tablespoons of curry you use depends on how "Indian" you want the Samosas to be: 1-not Indian and mild, 2-cheap Indian takeout, 3-the real deal and kinda spicy. Make sure it's mixed well and take off the heat.

(Sorry, I couldn't cook and take pictures, so this is the end-product of the filler)

Pinch off a golf ball sized (actually, some what smaller than than that. ping pong ball or walnut?) bit of dough and smooth it into a circle about 1/4 cm thick.


Slice the circle into two equal halves a place a spoonful of filler into the center of each 
(Don't overstuff!)


Fold the corners up and pinch the seams together. If you have to, wet your fingers with cold water to create a seal.

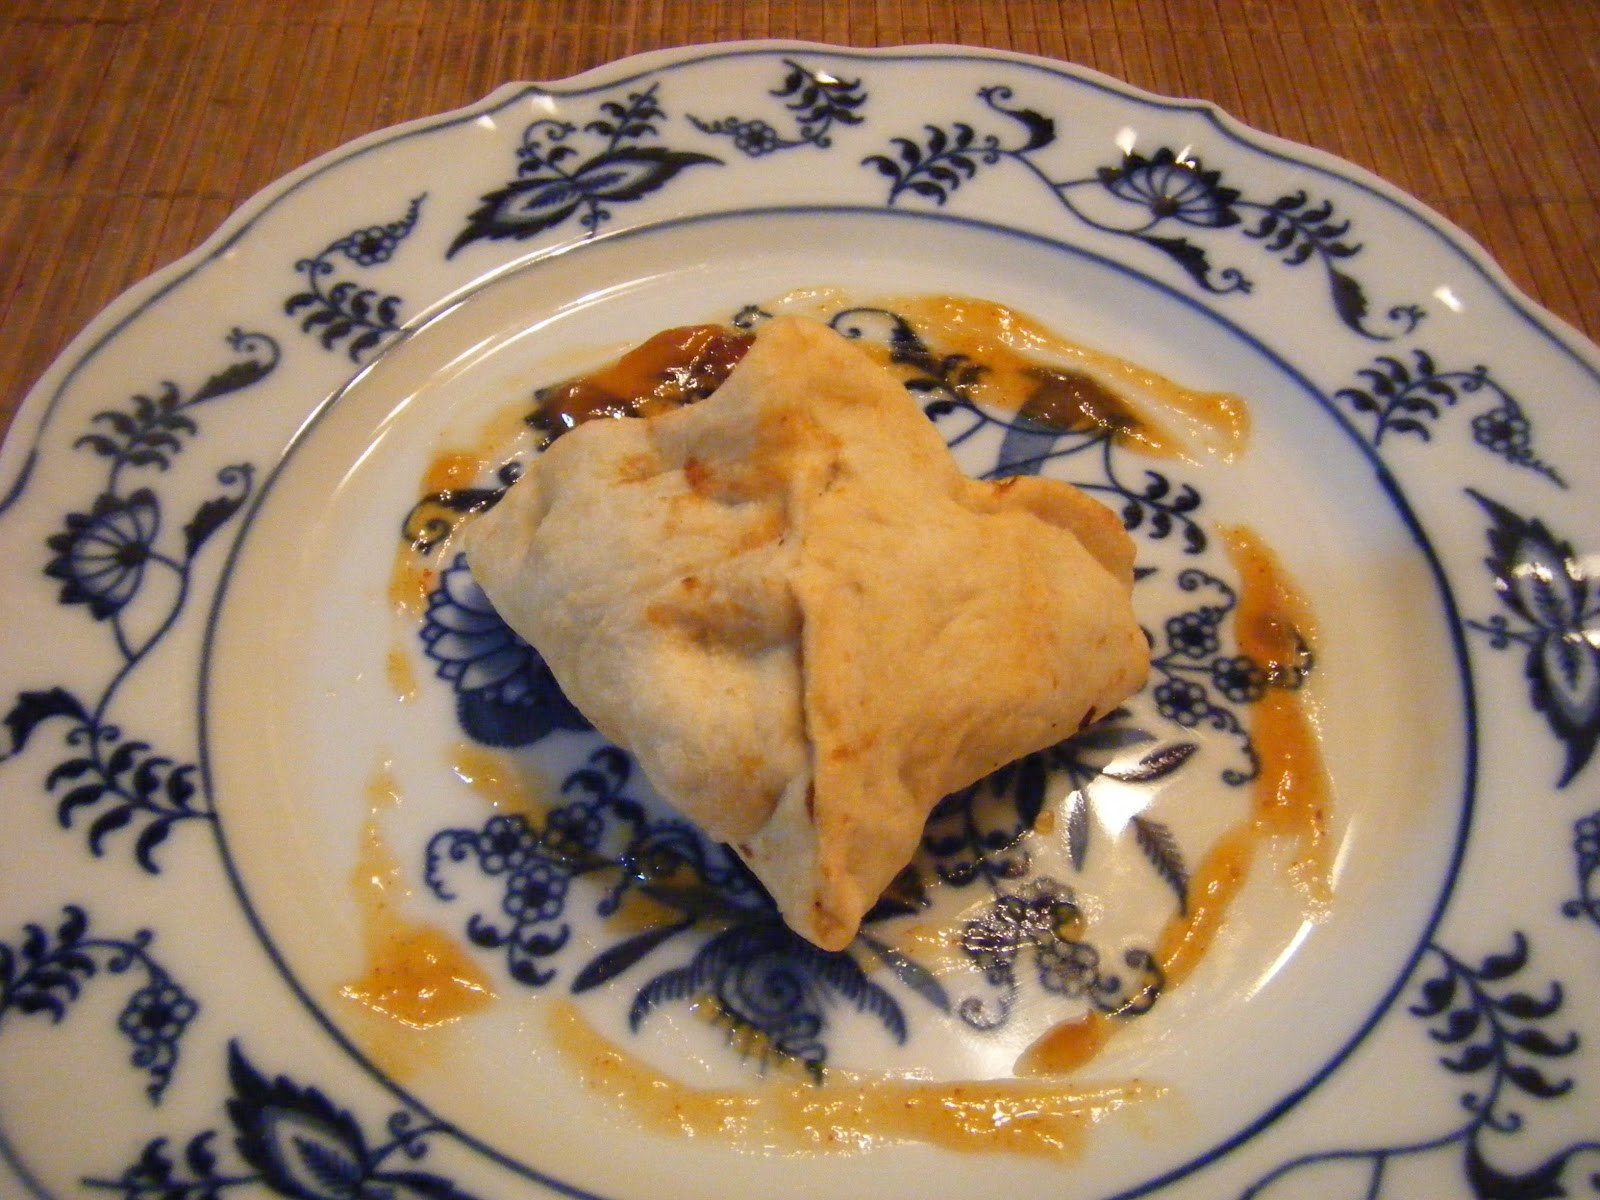
Mine come out pyramidal shaped , or sometimes like a Napoleon hat, not very elegant.

Fry the Samosas in an oil cooker until browned, about 10-20 min.

Bottom left: see the dog biscuit? No idea.

We found a lovely sauce for it: Pataak's Hot Mango Chutney.


Bubba loves them, sans Hot Mango Chutney, of course.


Wednesday, October 31, 2012

Wednesday, October 17, 2012

The Squirrel Mafia

There is a gang problem in our neighborhood. There are about five or six of them. They are demanding and if they don't get their way, destructive. They exact their revenge quickly, to make sure we know who is boss. They are the Squirrel Mafia.


When we first moved here, we decided that since Bubba liked to watch the birds out the window on the back porch, we would get a bird feeder for the tree outside the playroom window. We didn't know what trouble we were inviting to our yard.

At first we only saw a squirrel once and a while, and his lackey, the chipmunk. They would come to the other feeder on the back porch from time to time and eat, the chipmunk stuffing all he could into his pouches before swan diving into the bushes when my mom came out to chase him away.
"Let him eat." I'd say. "They are cute, and they are hungry too."
She warned me that they would steal all of the food, leaving none for anyone else. 
Little did I know.

Day after day the feeder would empty quicker and quicker. Some days it would be empty right after morning nap. He would stare in the window at me like he was saying, "Hey, lady! Where's my grub?!" I would refuse to fill it til the next morning.

Then the destruction started. Little pieces of plastic from the feeder scattered to the ground. Finally he tore off one of the stoppers and it just had an open hole in the bottom that seeds leaked through.

It was time for a new feeder. At Lowes, in the garden center I found a "Squirrel Resistant" feeder and figured it was worth a try. At least this one was made of metal and glass, so he couldn't tear it up like the last one. 

Anxiously, we put up the feeder and waited. Twenty minutes later the ring leader arrived and promptly started munching on seeds. Not even slightly "squirrel resistant".
Here is Bubba watching the squirrel and he seems to me to be saying,
"We were bamboozled!"


One or two rainy days in a row and I didn't go out to fill the feeder. They were not amused.
The next morning I went out and the feeder was on the ground the top hook that screws in still attached to the tree branch. Those tricky guys unscrewed it from the base. After the fall the feeder's wire frame is all bent out of shape and lopsided.

Our newest purchase was a suet feeder which is basically bird seed packed in lard, and it goes in this wire cage. We figured at the least it might slow them down, or give the birds something to eat while they squirrels hogged the feeder. 
The moment of truth, the lead squirrel went up to the suet and sniffed it. 
He looked in the window at me with distain. "What is this!?" 
As luck would have it squirrels are apparently not fond of suet.  
Or so I thought.

I began to notice larger and larger chunks of it missing over the next couple of days. 
Then I noticed a squirrel reach in and grab a chunk then lick the grease from his arms. 
Oh, well. There goes that.
The last couple of days have been particularly rainy, so I haven't filled the feeder. One morning I went out to find this:


Suet feeder chain dangling from the branch and the cage busted open on the ground. Entire suet block gone.
Their message is clear:
Remember to fill the feeder or destruction will follow.

I opened the back door to take a picture, everyone else ran, except this little guy.
He may be tiny, but he is fierce.

Tuesday, October 16, 2012

Home Buying Purgatory

I bet you are wonder what has happened to me. 
It has been busy, not any busier than before. 
Actually in some ways everything has slowed down. 
To a stand still. 
Which has made me not feel so much like writing. 
Besides in a weird way it seemed if I mentioned what all has been happening, with the new house before we closed it might jinx it. But that's silly right?

So here it goes. Remember the house with the super awesome kitchen that was priced a little too high? Well forget it.  The current owners thought their super awesome kitchen was too super awesome to lower the price to what we were willing to pay. 
As nice as it might have been to move it to a house and have not remodeling whatsoever to do would have been, it was not worth that much extra money. 
There was another house we were seriously looking at at the same time. When we decided that super awesome kitchen house was not worth as much as they wanted for it, we decided to go with our other option.

The two houses were total opposites. The one with the super awesome kitchen was move in ready, the other house was a HUD owned foreclosure that needed a bit of TLC. Maybe more than a bit. As foreclosures go, it is not in that bad shape. 
I think secretly my husband liked this one better. Even though remodeling is a pain you do get to make things exactly how you want it. Every time we looked at a house we sort of liked, he would draw up basement "man cave" plans on a napkin, so I know he really does want to mold a house to fit us in some way. And this house has a HUGE unfinished basement to make in to the "man cave" of his dreams.

So here is the problem. It is a HUD foreclosure, the government has some tricky stuff to figure out when buying one of these places. First you have to have your realtor bid on a website for the house, like ebay, except you don't know when the auction ends. Some one in a government office checks all the bids and if they like one they accept it, only they don't really have a time frame. They can do it right after you bid, or wait weeks. Apparently this is an improvement from what it used to be like. Our realtor explained that they used to take months, back when the market was busier. 
So once we decided to let the super awesome kitchen house go, we were prepared to  make our bid, and then, the next morning when our realtor went to the HUD bidding website, the house was gone! 
What? 
After a very stressful morning making calls, she found out that HUD temporarily unlisted it to lower the price! Score! So the next day our bid went in. Then the following day Bubba had a doctor appointment in Wisconsin, because now that we have Wisconsin insurance, we have to go there to see the doctor. (don't even get me started on this one, this has made getting treatment for my psoriatic arthritis a nightmare, still no appointment with the new rheumatologist yet btw. We'll save that for another post.) 
Anyway in this case, it worked out, because HUD accepted our bid, which meant we had 24 hours to get all of the paperwork on an official bid signed and sent in. Then we waited again for them to officially accept our written offer, because the online one wasn't really official. That took another week, which is also quick by previous HUD standards.

This past week we had our house inspection. So we had to get the water and gas turned on. The electric company was supposed to turn it on on Friday for a Monday morning inspection. Unexpectedly, they turned it on Thursday. Our realtor decided to check out the house and make sure everything was ok. She enters to hear water running at full blast! 
All of the sinks and showers have been winterized since the house is an uninhabited foreclosure, when they winterize the house they leave the faucets on full blast and cut the power to the main water. When the electricity came on, so did a water pump. 

The good new is all of the drains work great. 
The bad new is there was a open pipe in the basement that possibly went to a water softener or something at one time, but doesn't anymore. 
Water ran in the basement all night. 
The basement luckily wasn't really finished, but it was framed out, and we did want to use some of the framing, but now it probably has to come out. My husband bought a shop vac and a dehumidifier and cleaned up the basement. 
Ah the joys of home ownership! Wait a minute, we don't even own it! 
The other realtor, the one who represents HUD, did not really seem to care one way or the other about the mini flood, and was content to leave it, so my husband decided since we would hopefully be the owners, he would take care of what he could now, even though HUD doesn't let you make any repairs til after closing.

It turns out it was a really good thing my husband decided to clean up the basement a bit because the bank appraiser showed up the next day. Now whole loan processes is a little crazy too, because we have a VA loan, and the VA is a little specific with their own rules as well. Some banks that do VA loans will not let you buy a foreclosure. Technically the VA wants a house to be able to be inhabited at the time of closing. Now the line is a little fuzzy on what that means. Does the fact that the carpet is trashed and needs replacing, or that the only appliances there are the oven and microwave, or that there was a mini flood in the basement, or the list of other repairs suggested by our house inspector mean it is uninhabitable? It seems it depends on the bank appraiser. So we will only know when his report comes out. 

So that is where we are. Waiting for the report to see if our loan will go through...

...in home buying purgatory.